

Fermented sodas are a fun and easy way to increase and add probiotics into your diet. In this post we will be using a fermented product called Water Kefir which is similar to Kombucha however it is a bit more of a simple process and has a bit of a different taste than Kombucha. I personally find that most kids (and even some adults!) prefer the taste of water kefir to Kombucha.
WHAT IS WATER KEFIR
Water kefir is created using 3 ingredients: Water, Sugar + a special SCOBY (Symbiotic Culture Of Bacteria & Yeast) called Kefir Grains and only takes 24 – 48hrs to ferment! Kefir grains are quite easy to maintain and when cared for properly will continue to grow and multiply allowing you to share kefir grains with friends or even use them in cooking/recipes to get some extra strong probiotics into your diet.
BENEFITS
- Contains high amounts of probiotics, minerals and enzymes
- Rich in B12, B6, B1, magnesium, folate, vitamin K, electrolytes and other beneficial nutrients depending on how it’s been flavoured
- Contains 30+ probiotic strains- which is greater than Kombucha!
- Helps to feed/nourish a health gut flora
- Supports a healthy immune system
- Supports the bodies natural detoxification process
- Helps to improve energy levels and may increase metabolism
- Has been known to help curb cravings
- Helps to support and improve a healthy digestive system
- Helps to support and encourage healthy bowel movements
- May help with weight-loss, neurologic function, sleep disorders, depression, anxiety and ADHD
- Suitable for all ages and dietary restrictions as it is: caffeine free, dairy free, organic and low in sugar content
materials needed
- Glass measuring cups
- Large (2-4L) glass jar
- Cloth + rubber band
- Metal or food-grade plastic strainer + spatula
- Wooden spoon or chop sticks
- Mason jars + bottling containers
- Food safe funnel (optional)
- *see notes below
FERMENTATION STAGE #1
INGREDIENTS
- 4 tbsp Kefir Grains
- 1/4 cup raw cane sugar
- 4 cups filtered water
- *see notes below
DIRECTIONS
- In a jar, combine the sugar and water together until fully dissolved (I sometimes warm up 1 cup of water and mix the sugar in so it dissolves faster and then add the remaining 3 cups of water to cool it down).
- Ensure water has fully cooled and then add kefir grains, covering the jar with a cloth and rubber band.
- Let sit at a warmer room temperature (ideally between 20-26°C) for 24-48hrs. If your house isn’t that warm you can use a heating mat to achieve this temperature. If you like it less sweet, wait till closer to 48hrs.
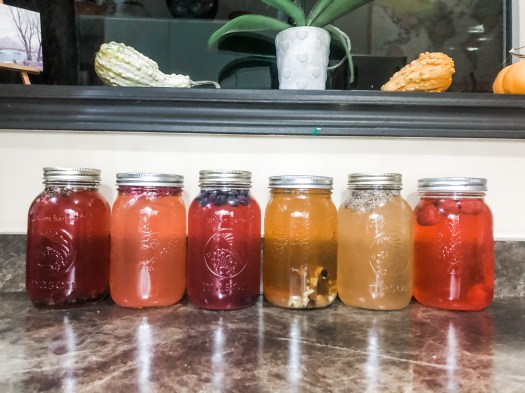
FERMENTATION STAGE #2 + FLAVOURING
- Once you’ve completed Stage 1, using a strainer over a 1L mason jar, strain the water kefir into the jar. Ideally, try not to let any kefir grains out if possible- it’s okay if a little bit of water kefir is left behind- it makes for better fermentation! Leaving the kefir grains undisturbed or in contact with the strainer keeps them happy and lively a lot longer.
- Once you have your water kefir made, the fun begins! Prep to flavour your water kefir or store in the fridge and use as is. For optimal flavour/benefits use your kefir within 3 months ideally.
- If you choose to flavour your kefir, take the 1L jar and add your flavouring components (see notes below on how to use different items) ensuring there is about 1/2 – 1 inch of space from the lid.
- Keep these jars at the same warmer room temperature you used before (or a heating mat) and let ferment for another 24-48hrs or until desired carbonation levels. Keep in mind that the sweeter the flavouring component is, the faster the ferments will carbonate.
- When checking your ferments, open with caution! I like using mason jars for this fermentation stage because they release the carbonation nice and slow so it doesn’t get too feisty on you 😉
- If you are not achieving very much carbonation it could be that your temperature is too cold, the seal is not tight enough (you could use swing top bottles instead of mason jars to ensure a tighter seal) or that you do not have enough sugar in the flavouring component. If you would like it to be more carbonated or carbonate faster, add 1 – 2 tsps of liquid sugar (either the sugar/water mix you made before or maple syrup or molasses or honey). Let sit for another 24 – 48hrs or until desired carbonation level.
FINAL STAGE
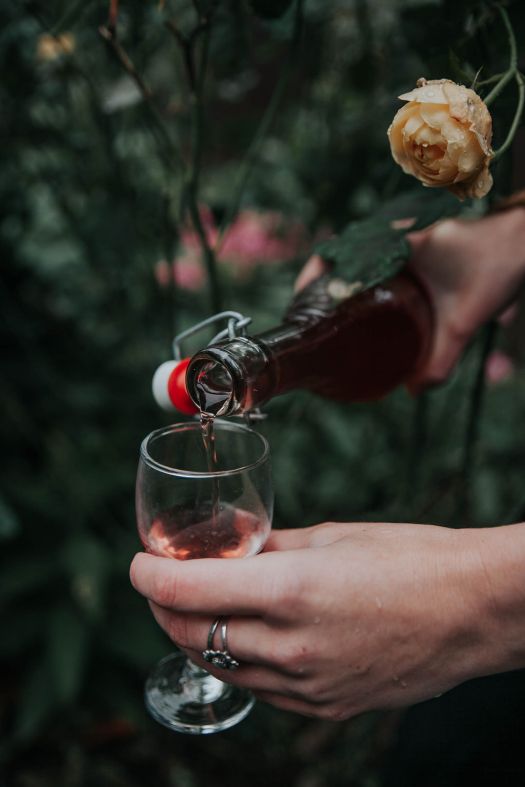
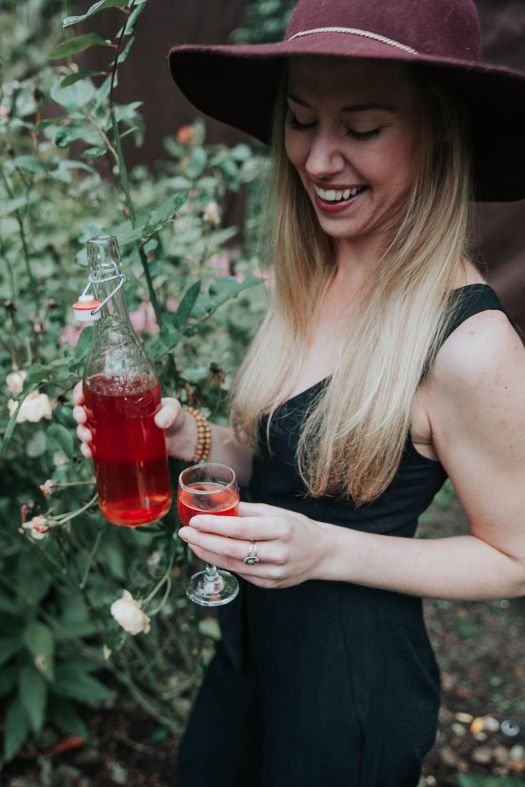
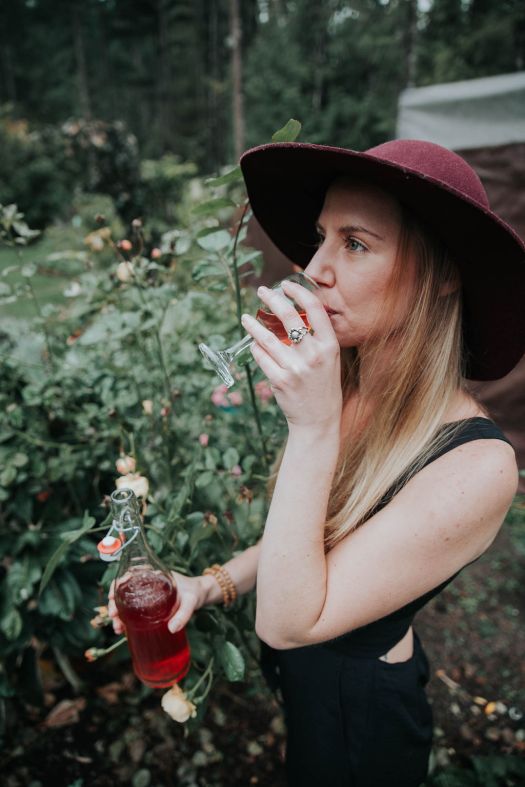
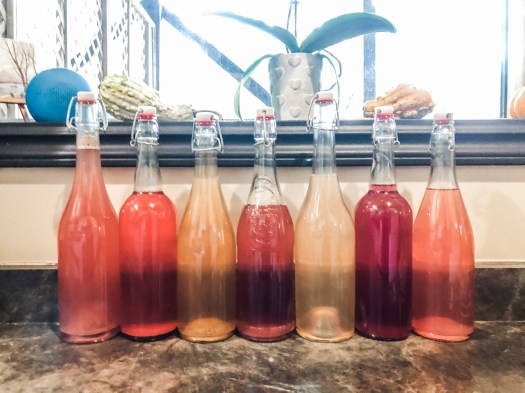
- Once your sodas have reached the flavour, sweetness and carbonation you would like, it’s time to bottle! Storing your sodas at room temperature will allow the soda to continue fermenting so it is best to store in the fridge once you’ve achieved the desired taste as that will stop all fermentation processes.
- Some people like to store their soda with the flavouring components still in the jars/bottles as decoration and to continue enhancing the flavour. I personally don’t, so I strain mine into swing top bottles that have a tight seal and store in the fridge.
- Depending on how feisty your ferments are, you may not need to “burp” them while they are in the fridge but if you do not drink them right away, I would open with caution to ensure the carbonation doesn’t bubble over on you!
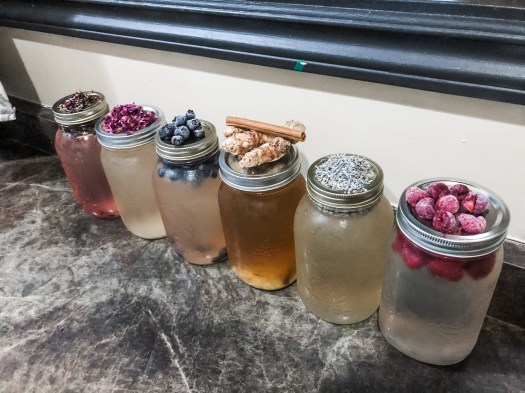
FLAVOURING OPTIONS
- Dried Herbs/Teas:
- 2 – 4 tbsp of any dried herbs/tea can be placed directly into the 1L jar or placed in a tea bag first and then placed into the 1L jar for the second fermentation stage
- Examples: Jasmine tea, hibiscus, rose, lavender, herbal blends, basil, rooibos, ground or whole spices such as cinnamon sticks, star anise, medicinal mushrooms, etc…
- Fresh Juices/Tinctures:
- 2 – 4 oz of any juice can be poured into the 1L jar for the second fermentation stage
- 2 – 4 drops of quality, safe, human-grade tinctures
- Examples: fresh pressed fruit juices, lemon juice, teas, coffees, DoTERRA Essential Oils, Harmonic Arts Tinctures, etc…
- Whole fruits/produce:
- Up to 1/4 cup of any fresh fruits/produce can be added directly to the 1L jar for the second fermentation stage
- Examples: fresh or frozen fruit and veggies, fresh or frozen herbs, etc…
NOTES
- Materials: although technically plastic AND metal can be used to make kefir, there are pros/cons to both. Plastic unfortunately can store harmful bacteria (even food-safe grade!) in the material whereas metal could damage the natural fermentation process if it gets in contact with the SCOBY. Be mindful when using either or and keep it clean and safe! Wood and glass are generally the safest bet as they don’t disrupt the fermentation process and do not hold/store bacteria as much as plastic does. Attempt to use only these materials when/if possible!
- Covering your ferments: When covering your ferments in stage 1, you do not want to fully seal the lid. Using a cloth, cheesecloth or even coffee filter to lightly seal the top to ensure that no bugs get in but still allows the ferments to breathe.
- Water: Kefir grains loooove minerals! We want to ensure they get as many nutrients as possible to help feed them. Never use chlorinated water however, it is also not necessary to use distilled water! Try opting for mineral rich water whether that’s through your own filtration process, using well water or tap water with the chlorine removed.
- Sugar: Again, kefir loves minerals! We want really mineral rich sugars when fermenting. Options like naturally raw cane sugar, panela or coconut – avoid using highly processed, refined sugars. To increase mineral content, you could also mix in a few drops of molasses to the water mixture.
- Alcohol: Yes, there will be small naturally occurring levels of alcohol in the fermentation process however, it is generally less than .5% and normally doesn’t ever exceed 3%. However, getting it to 3% is quit the art! I’ll sharing more naturally fermented alcohols on here soon but if you’re interested in attempting to make these beverages higher in alcohol, check this post out!
With love,
Heidi MacAulay
“Eat more plants. Do more yoga. Read more books.”

6 Replies to “Fermented Sodas”